Multi-Monitor Setups: All you need to know
Whether you're looking to expand your screen space for gaming or productivity, moving from a single monitor to a dual-monitor or triple-monitor setup will revolutionise the way you use your PC. Not only can you flit between applications without the need for any finnicky keyboard shortcuts, but depending on the monitor, you can even rotate screens to better suit the task at hand.
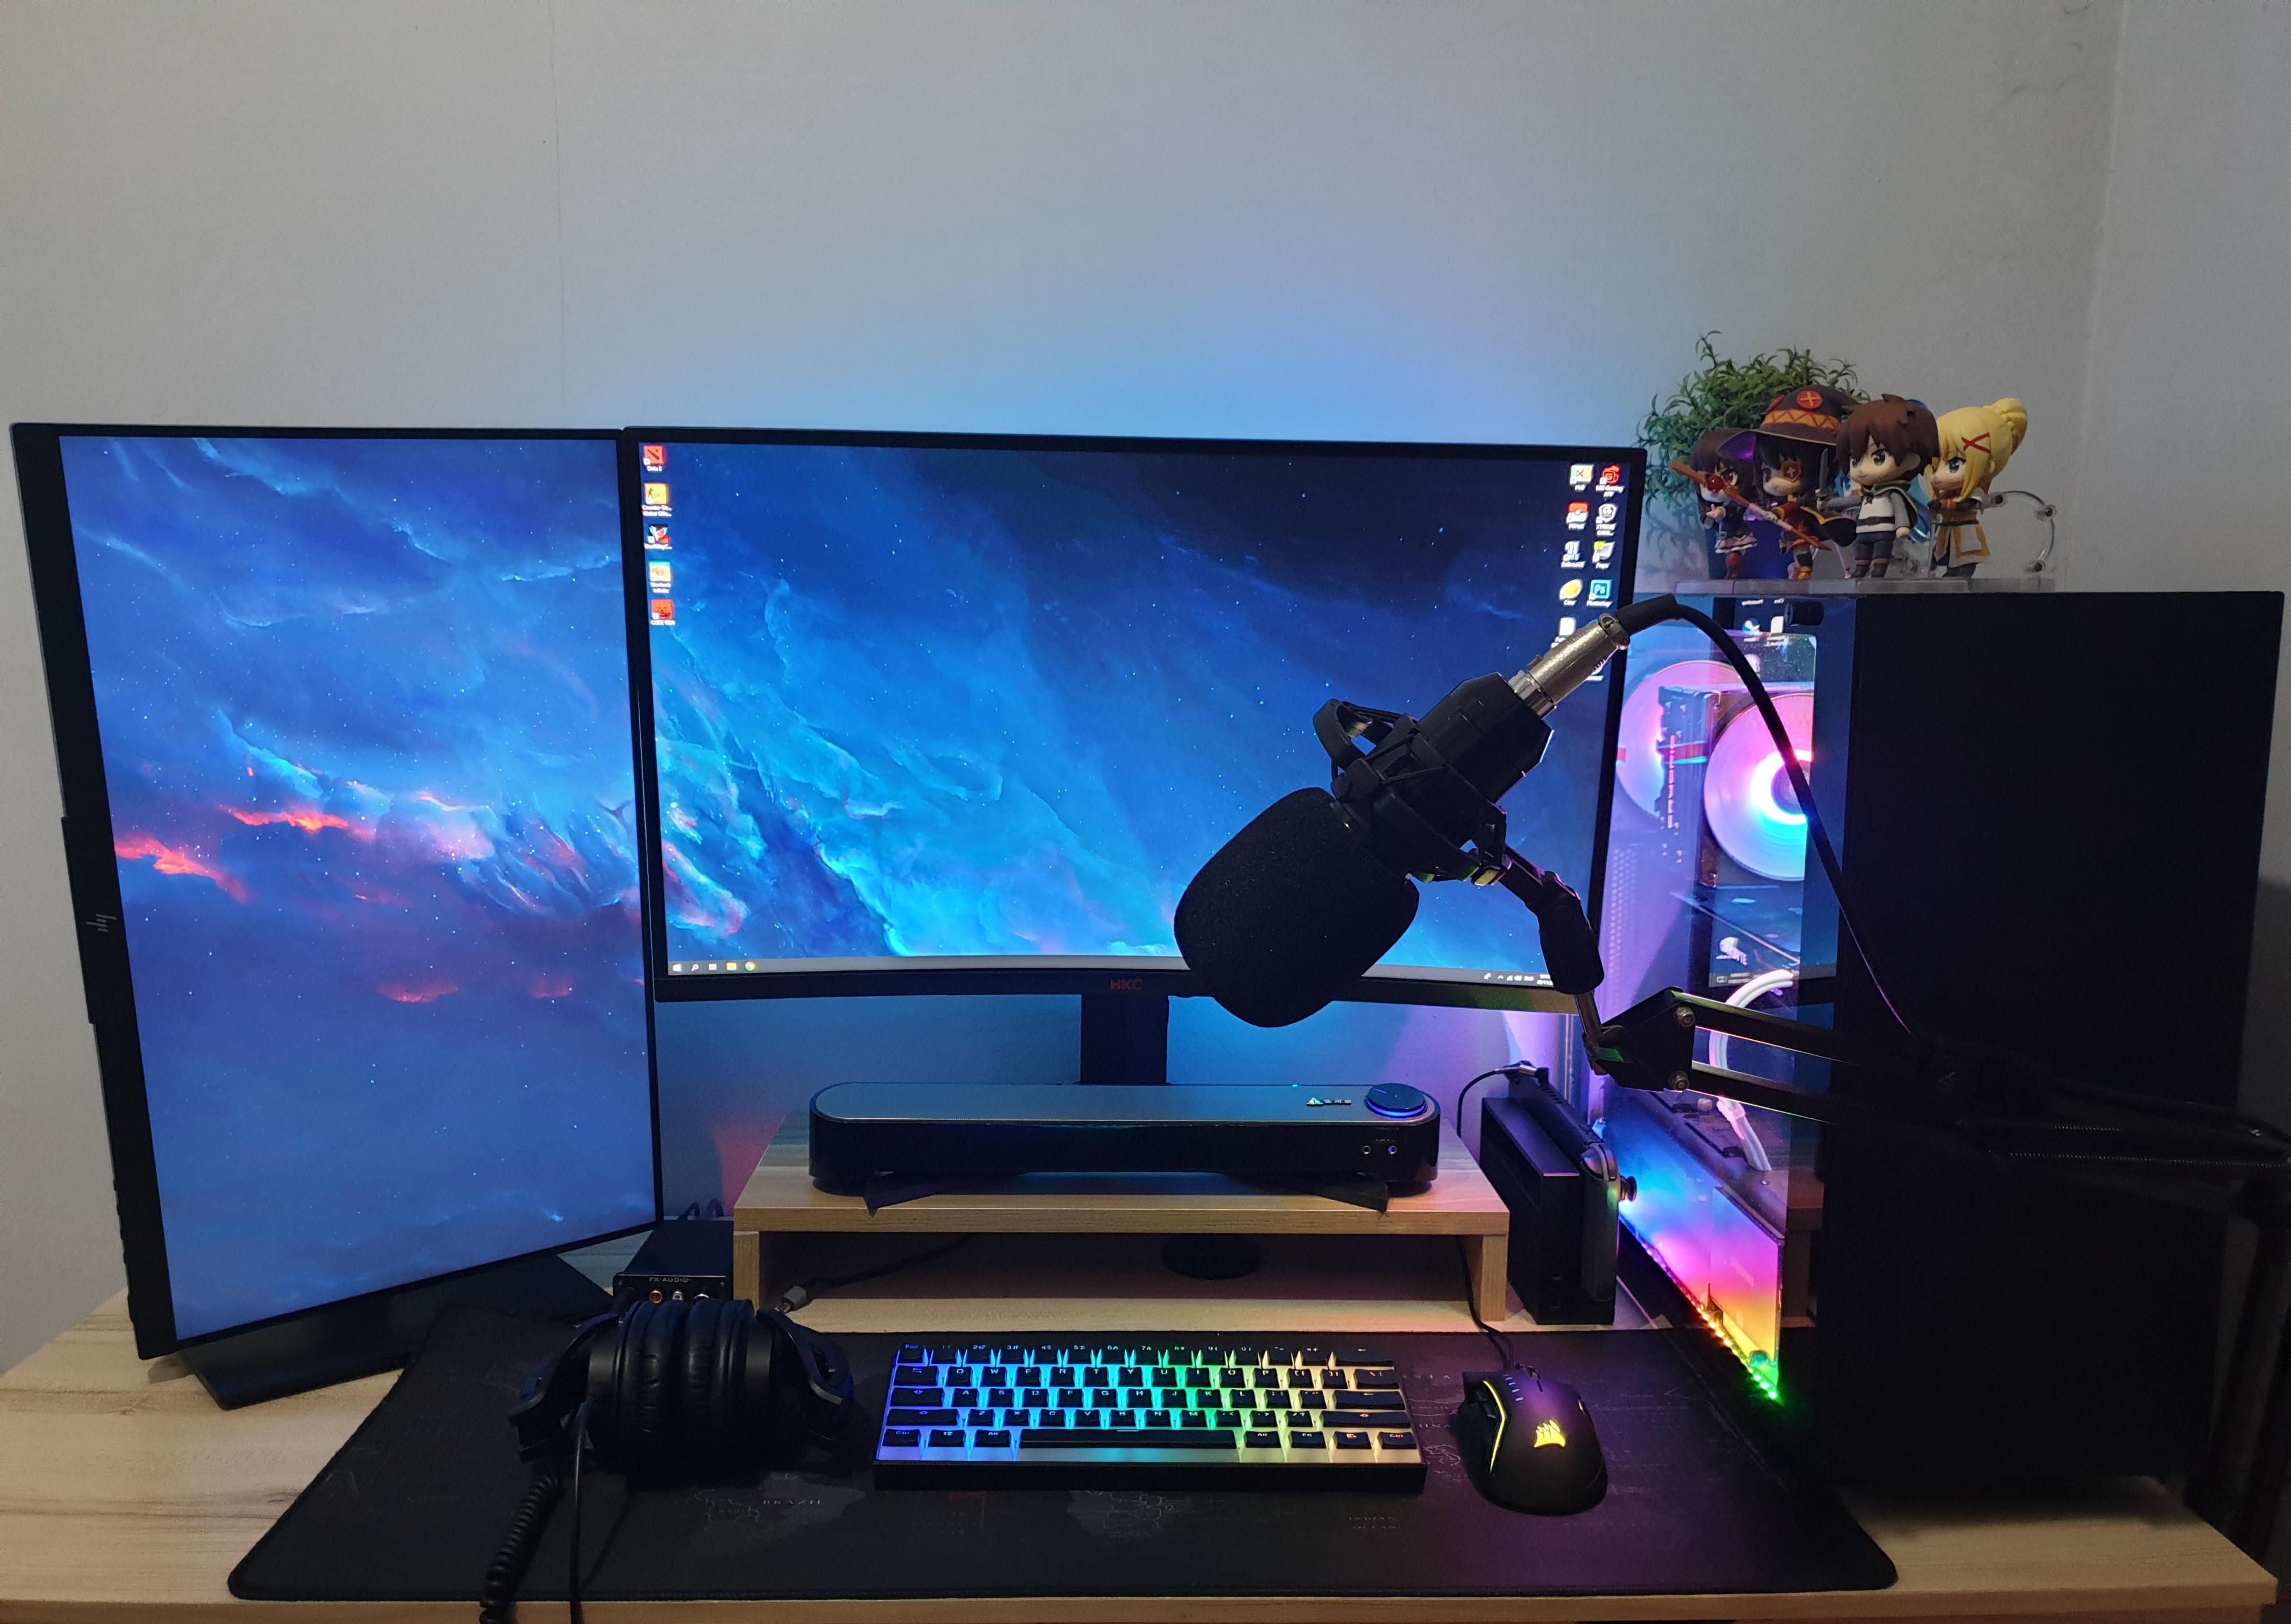
It's all about options - need a wider view in gaming? Use dual ultrawide monitors, a triple screen setup, or even four screens in an epic multi-monitor setup. Maybe you've got a lot of text to read in a Word doc, or online? Perhaps you do a lot of coding? Swivel one of your displays into portrait orientation and double how much you can read on a single screen. The versatility is fantastic for any desktop user, and for how easy it is to setup, it's certainly worth the time and effort.
So what's the first step towards getting multiple monitors setup?
Check how many monitor connections you have (and what type they are)
Having multiple displays setup on your desk won't mean much if you can't connect them to your PC. Thus your first port of call (no pun intended) is to ensure that you have all the potential connection ports you'll need.
There are a lot of different connection types around, with VGA and DVI ports existing on older systems and monitors, whilst newer devices make use of the superior HDMI and DisplayPort connection types.
Fortunately, finding them is easy enough; they'll be situated on the back of your PC where the various other input/output connections are located. Depending on whether you're using integrated or dedicated graphics (more on that in a moment), they'll either be positioned vertically, towards the top of the case, or horizontally, towards the bottom.
Which type of port you use largely comes down to what kind of output you want, which in turn is usually determined by the resolution and refresh rate of your monitors. Below you can see the different resolutions and refresh rates supported by DVI, HDMI, and DisplayPort on a single monitor. I've not included VGA here, as this standard is near enough obsolete today, unable to output even 720p resolutions.
As you can see, the older DVI standard is starting to lag behind, and much like VGA, is becoming increasingly obsolete in the face of the newer HDMI and DisplayPort standards. As such, we would always recommend opting for the newer ports wherever possible.
That said, as mentioned earlier, it's all about flexibility; if you have multiple video outputs of each type, there's nothing to stop you from using a mix of connection types, rather than just one. For example, you could make use of a DisplayPort connection to run a high refresh gaming monitor, whilst using an HDMI and/or DVI connection type to hook up two auxiliary screens which you use exclusively for browsing the web, writing emails, and other day-to-day tasks.
In some cases, you may find that you do not have enough ports of the type you'd like to use, and in this instance, it could well be worth investing in a splitter. These simple devices do exactly as you'd expect, allowing you to use a single port to connect multiple video cables at once. However, if you do intend to use a splitter, it is important to read their specs carefully.

Whilst some devices allow you to extend your desktop across multiple screens, there are some models which will only mirror the output instead, so you'll need to pay close attention here. You should also make sure that the splitter you choose matches the desired refresh rate you'd like to achieve; some will be limited to just 30Hz, which is less than ideal for many users, and particularly so for those using high refresh gaming monitors.
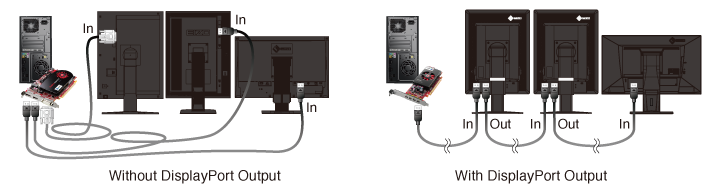
Alternatively, if the lower refresh rates on offer with splitters aren't sufficient for the task at hand, we would recommend opting to use DisplayPort where possible. Unlike other types of video cable, they support what's known as Daisy-chaining. With a compatible monitor(s), it's possible to use a single DisplayPort on your PC to output an image to all of your screens, as the additional cables you'll use will connect directly from each display in the chain (hence the name). Not only does this reduce the number of video ports you need, but it also helps keep your desk tidier as there will be less excess cable hanging around.
However, before you get carried away counting video ports and configuring displays, there's one very important detail that you'll need to know first. And that's whether your system is running on integrated or dedicated graphics.
Integrated vs dedicated graphics
What kind of graphics your system is running on is extremely important to your multi-monitor configuration. You may well have, or are looking to buy, three monitors using 144Hz 1440p panels, but you'll need more than just the right connection type and cable to make full use of them. You'll also need adequate graphics horsepower.
If your system does not have a graphics card installed, then your PC will be operating on the integrated graphics provided by your CPU. In this case, the relevant ports will be located on the rear of the motherboard, and in theory, you shouldn't have any other video ports available.
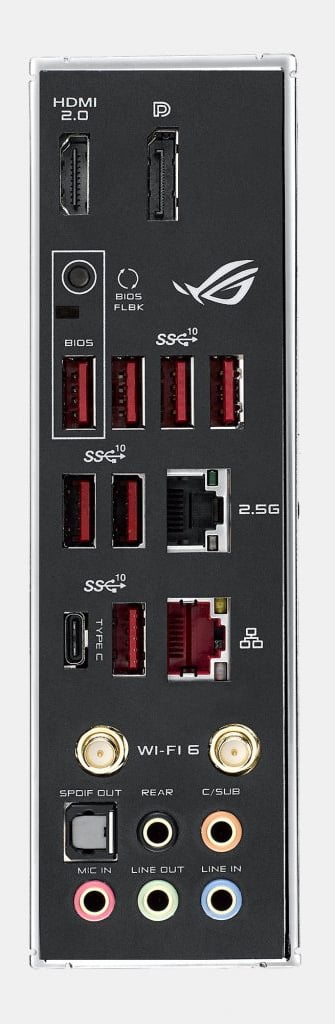
For modern processors, integrated graphics are more than capable of providing a video output to at least two monitors, and will be more than ample for simple applications and day-to-day tasks, even up to 4K screen resolutions at up to 60Hz. However, if you intend to do anything more taxing than this, are using an older processor, or want to have three screens or more, then an upgrade to dedicated graphics will be necessary.
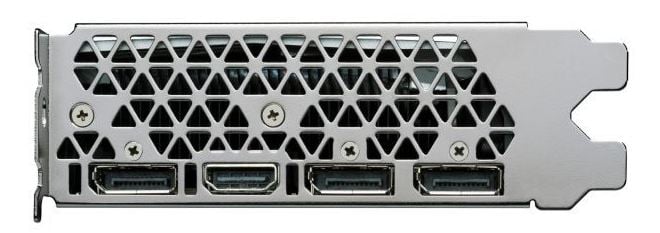
If you already have a graphics card, there will be additional monitor connections available located just below the rear I/O panel. In this case, you should not count any video ports on the motherboard, as there's a chance your processor will not have integrated graphics. Equally, it is generally unadvisable to utilise both integrated graphics and dedicated graphics at the same time for extended desktops, as it's possible that you'll experience lag or stuttering when you move applications between monitors. Specifically, between the display being run on the CPU graphics, and the screen using the GPU graphics.
For graphics cards, running multiple screens simultaneously is a breeze, with even low-end entry level cards like the GTX 1050 Ti offering support for up to three 1440p panels concurrently. Once again though, you'll need to consider the refresh rate and resolution of your monitors, as well as the kind of workloads your PC will be handling. The GTX 1050 Ti could comfortably manage three 1440p screens at around 60Hz, provided you only use your system for simple browsing and productivity tasks. However, if you intend to be gaming on those same monitors, the card struggles to maintain 60Hz on a single 1440p monitor at medium settings, let alone on a dual or triple monitor setup. So in this example, you would be better off looking for a far more powerful graphics card.
If you'd like to see some of our recommendations for the best hardware capable of running dual or triple monitors, you can read more in both our blog on the Best Value Gaming GPUs 2021, and our guide to PC gaming hardware for Sim Racing, where we evaluate the ideal components for running iRacing and Assetto Corsa Competizione.
How to setup multiple monitors
Once you've established how many monitors you'd like to use, which connection types you'll be using, and whether your system has the hardware to handle them, it's time to get set up. Then, after plugging in all of your screens, there's an additional step to get everything working.
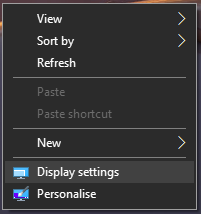
For Windows 10, right-click on your desktop and choose the "Display Settings" option.
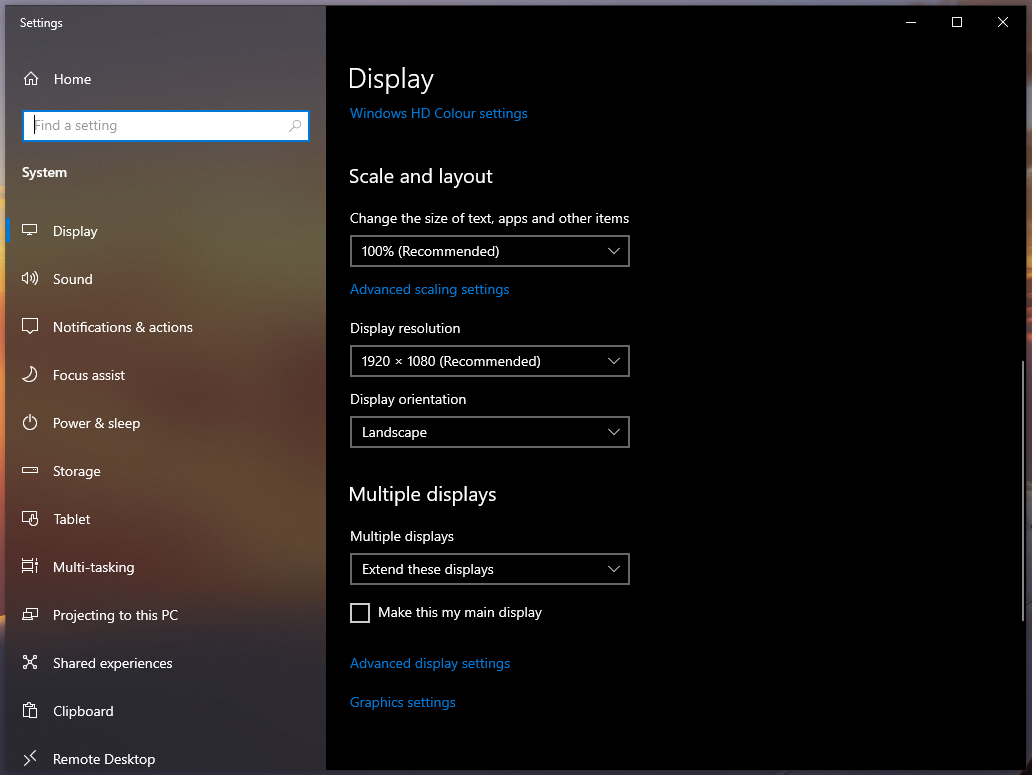
Here you'll be able to select the correct resolution to use, as well as locating the "Detect" button under the "Multiple Displays" heading. This should then allow the PC to discover your additional monitors, which it will proceed to number from one to however many displays you have. You can then rearrange these as appropriate, so that your cursor moves seamlessly from your left-most screen, all the way to the right-most. You'll also be able to set the resolution of each screen, whether it is in a landscape or portrait orientation, and its refresh rate via the "Advanced Display Settings" option.
If basic day-to-day and productivity tasks are all you intend to use your displays for, you're all done. But if you're hoping to game across your new extended display, there's one final step you need to complete.
If you're using an NVIDIA graphics card, you'll need to make sure you have NVIDIA Surround installed. Otherwise, if you're using an AMD card, you'll need AMD Eyefinity. This software will allow for compatible and supported games to make full use of your multi-monitor setup. You may also need to tweak a few in-game settings, particularly FOV, in order to prevent any distortion on your secondary displays. Once that's done, you're good to go!
Posted in TechShot
Published on 07 Jul 2021
Last updated on 09 Feb 2023